Lighting on a budget, or Doing more with less

It’s 2019. We have all the Ks, incredibly sensitive sensors, cheap glass, and stabilizers available at any Best Buy. Fuji recently released the XT-3, with image quality and a codec that rivals the Arri Alexa. And it has never been cheaper and easier than it is now to rent a high-end camera package for pennies on the dollar. It’s a great time to be a DP. Or is it?

What if you can’t get the lights (or more importantly, the crew) to get that big-budget, professionally lit, high end image that you have in your head? You read that Roger Deakins used a row of 18ks to light up the desert at night, and now anything less than that is unacceptable. What do you do now?

Suck it up. This is the era of no more excuses. Low budget lighting IS possible, and I’ll tell you how. No, this is not some race-to-the-bottom how-to guide of how to get stuck in no-budget land. I’ll have plenty of posts in the future discussing large lighting setups. But for now, let’s talk about the best ways to light your image when you just don’t have the resources to go huge.

Location, location, location

This age-old mantra holds true to this day. How many times have you found yourself in some apartment building or set with 4 white walls, wondering why your frame looks terrible? No amount of lighting is going to make a bad location look great, and this is why you should always start with a great location.

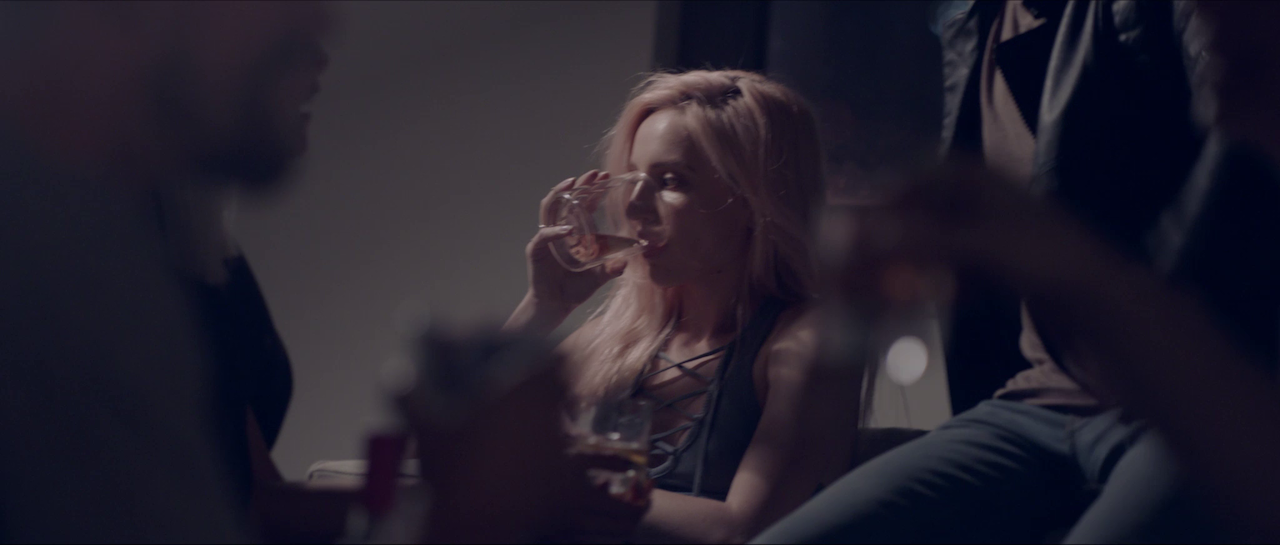
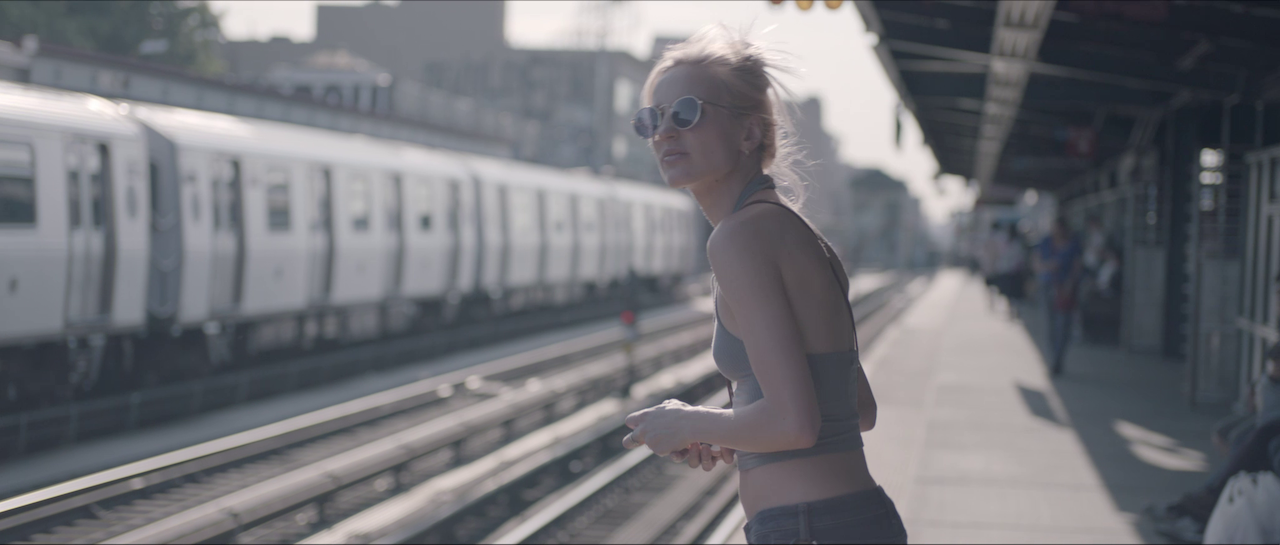
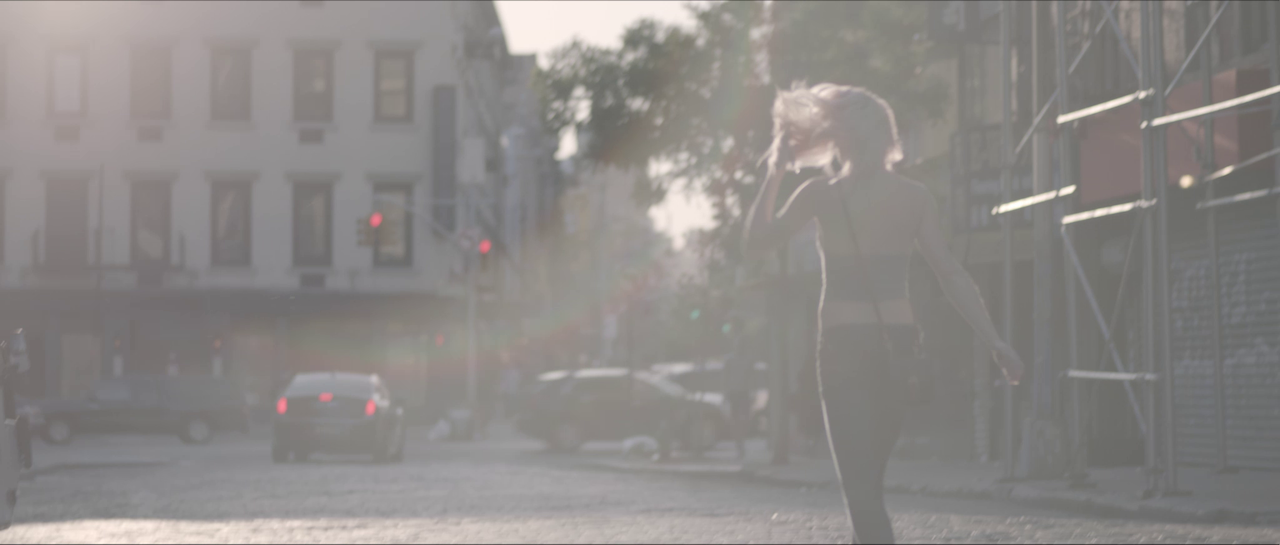
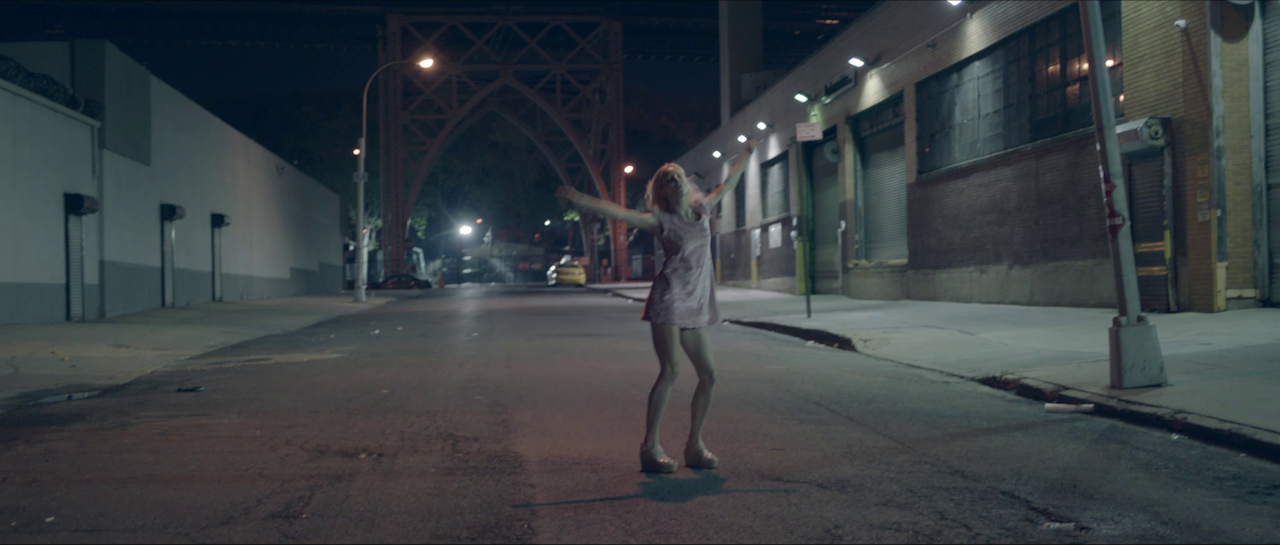
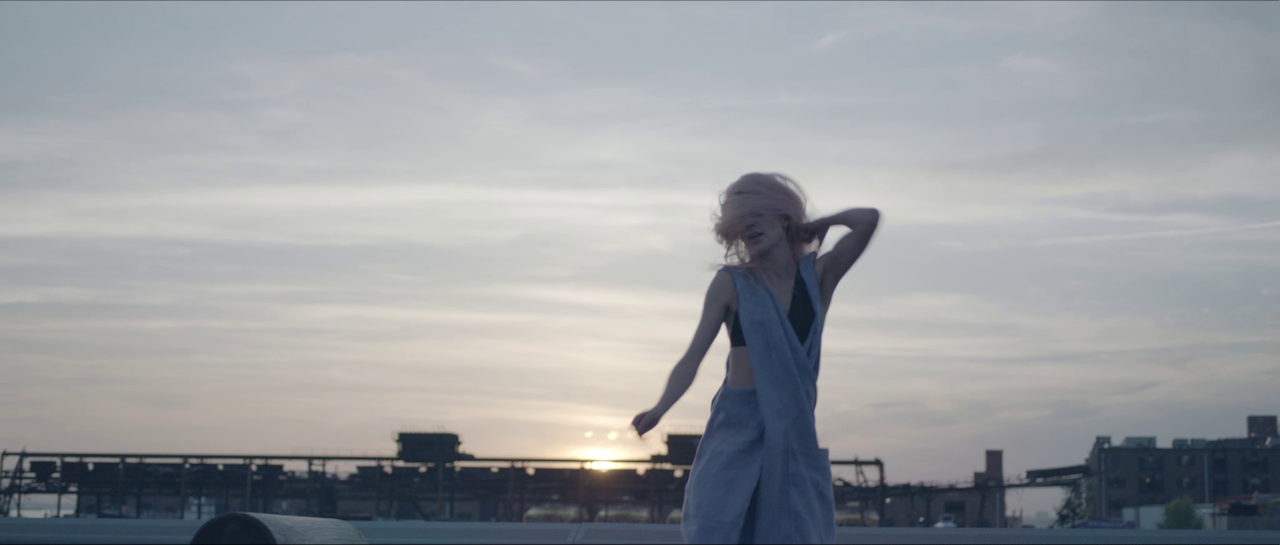
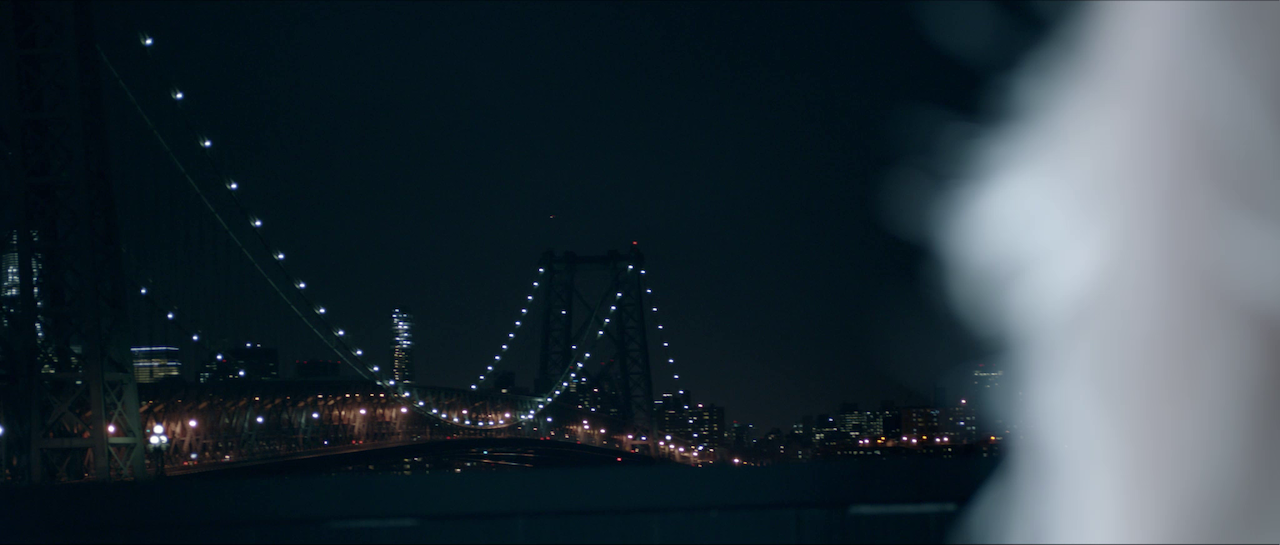
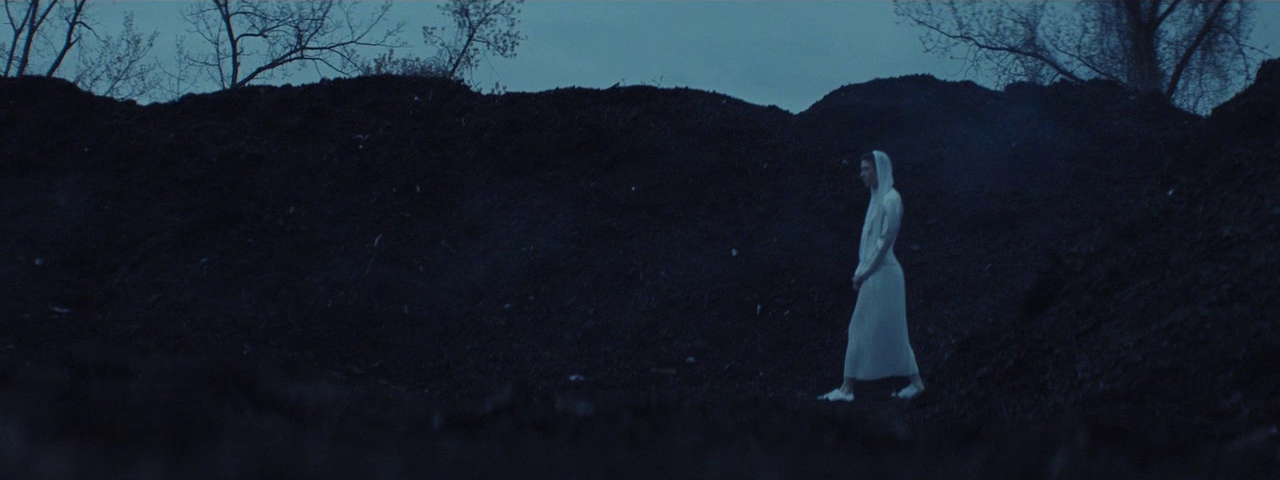
When you don’t have the money to rent a space with amazing architecture, beautiful windows, or built in lighting, you just need to get creative. If you’re in a city, there are plenty of beautiful locations accessible to the public, it’s just a matter of finding them. For the Sve “Paint a Picture” video, we had no choice but to find free locations, given that the budget was a grand total of $0. Living in New York City, the opportunities are everywhere. We shot on the subway, on a pier in Red Hook, in the East Village and in a friend’s apartment with a rooftop overlooking the Williamsburg Bridge.

The key to using free locations to your advantage is to scout properly and schedule smartly. For daytime scenes, utilizing the sun to your advantage is a necessity. I use Helios Pro to track the path of the sun, and then I schedule the scene accordingly so that my subject is usually backlit, and that preferably the most important shots happen during golden hour. 

Use available light

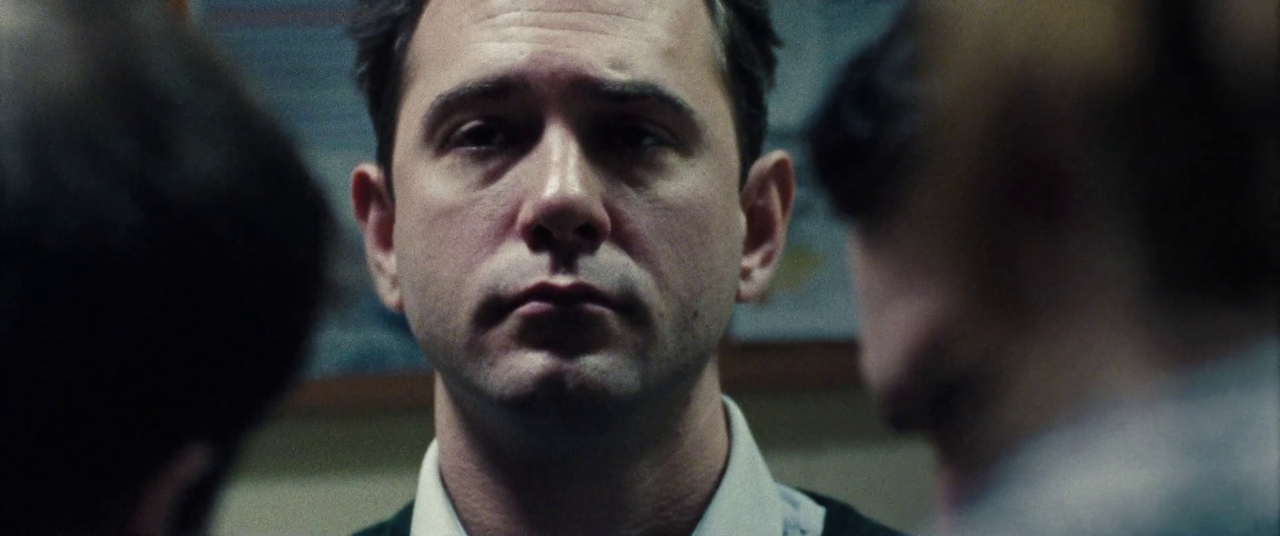
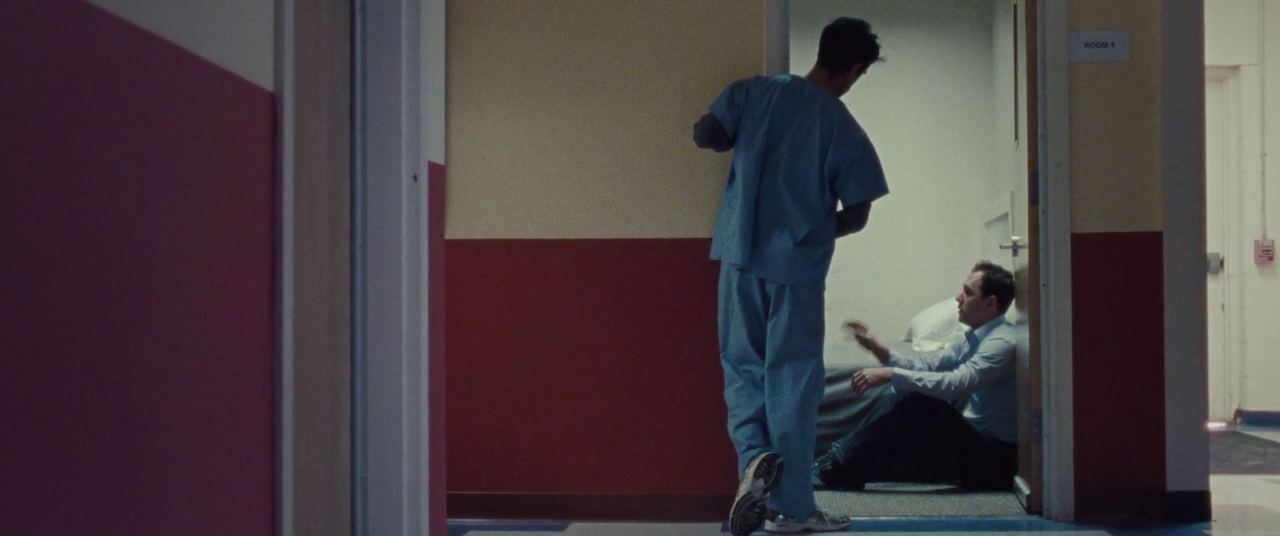
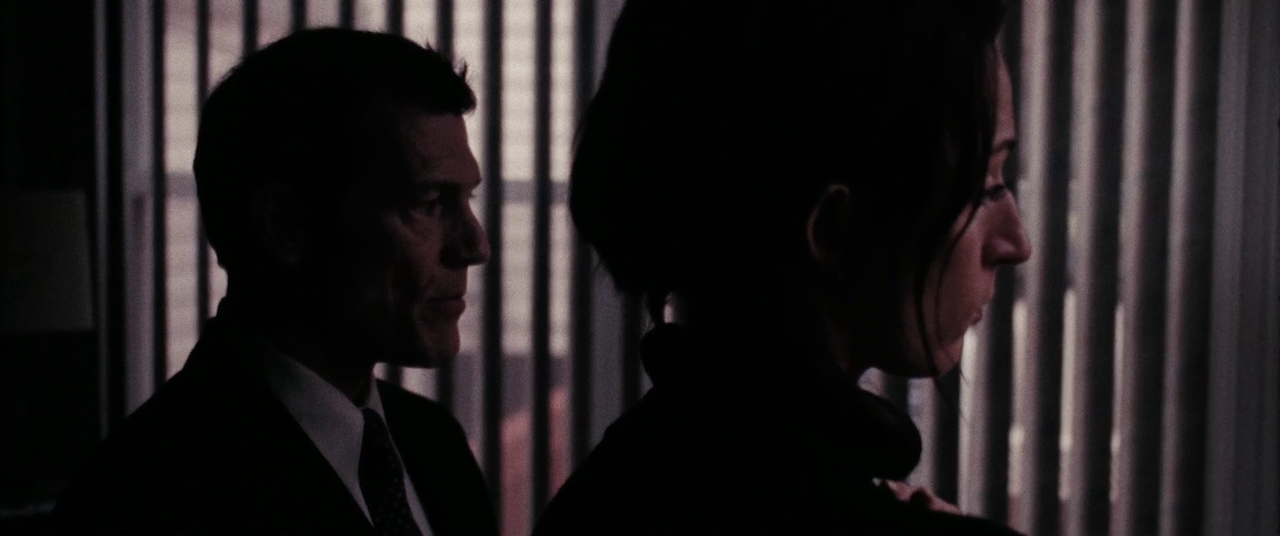
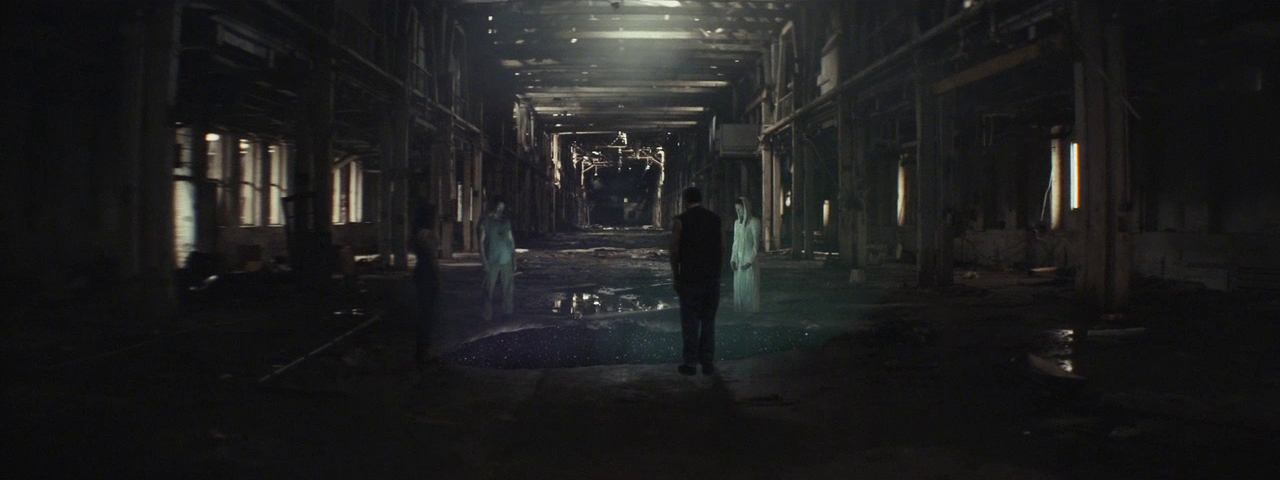
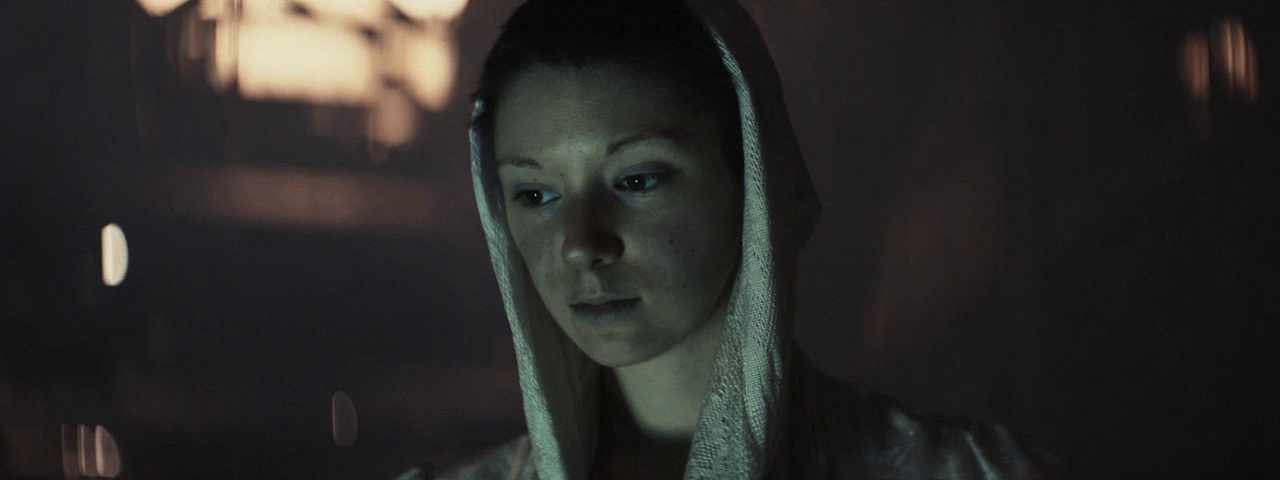
Just because you’re shooting a movie doesn’t mean you have to use movie lights. Depending on the story, a naturalistic look might be the best approach. When director Mimi Jeffries approached me to shoot a short film about mental illness, I wasn’t discouraged by the lack of resources. Instead, we embraced a look that we called “shaped reality”, and using whatever lighting existed in the space already, we would modify it to suit our needs.

vlcsnap-2019-03-16-10h12m47s218.png

I worked closely with our two-man grip department in setting flags, hanging duvetyne, and otherwise sculpting light from the fixtures that were available to us. It didn’t always work perfectly, as you can see in this wide hallway shot where the duvetyne shadows are visible, but taken as a whole, the look reflected the grittiness of the story.

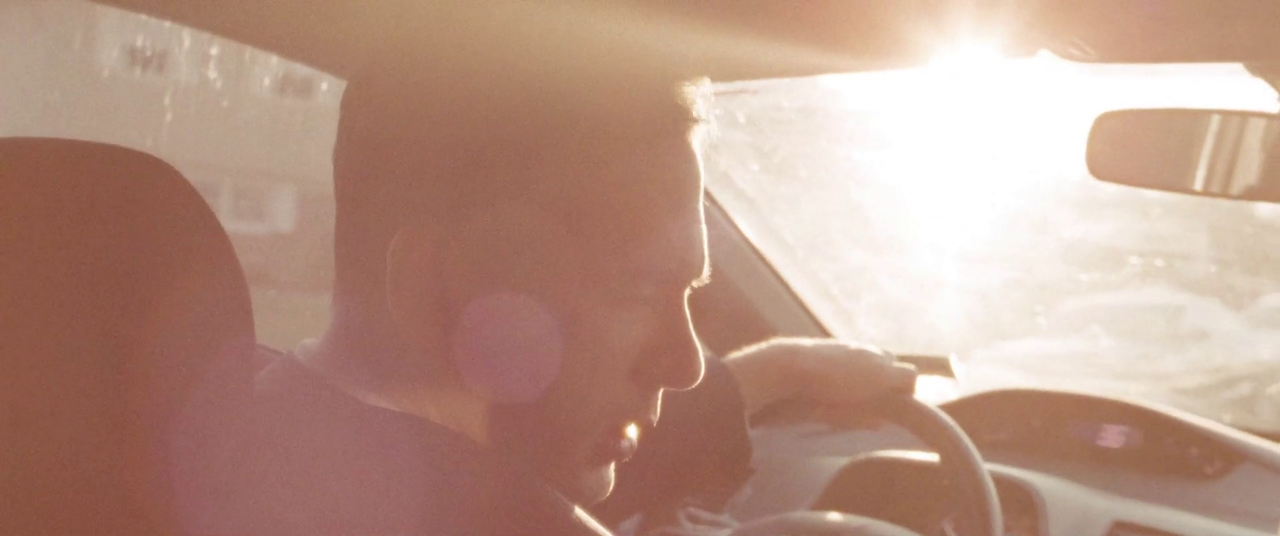
In two contrasting scenes, the boy’s aunt worries about our main character’s return and state of mind. For this, we added negative fill on the ceiling, as well as anywhere outside of frame, to create a dark sense of foreboding. On the other hand, for the escape to Disneyworld, we timed the drive so that the sun would pop in through the windows, creating a bright and warm look.

Adjust the creative

Just because you write a script starting with “EXT. NIGHT” doesn’t mean you can actually afford to do it. Night exteriors are notoriously expensive, slow moving, and generally an unpleasant experience without full control of everything. So when director Patrick Biesemans sent me the treatment for the “For Shelley” music video, I couldn’t help but feel nervous about how we would pull it off.

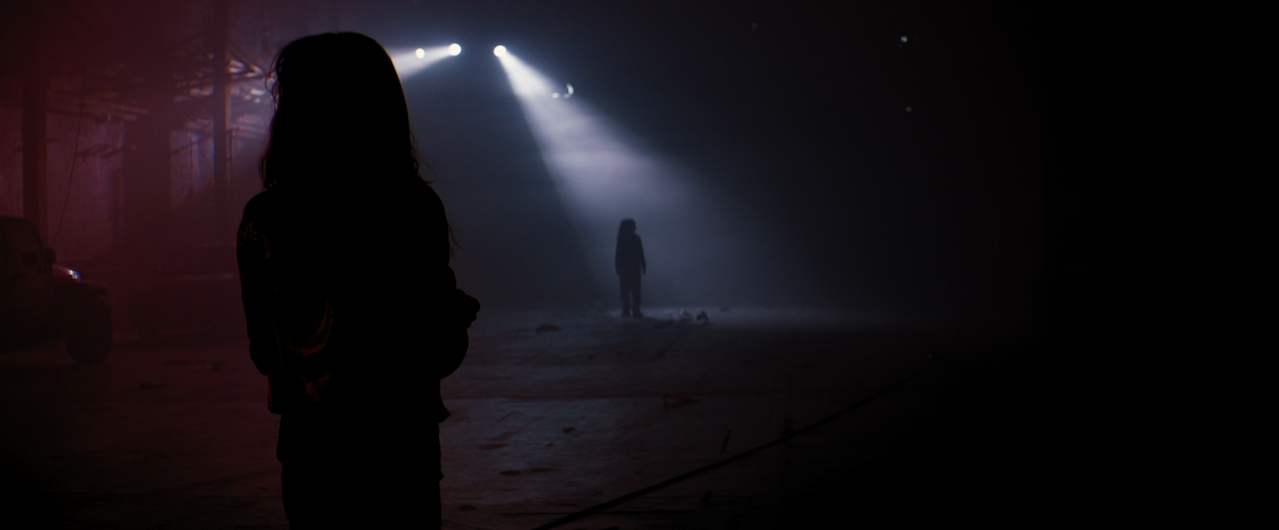
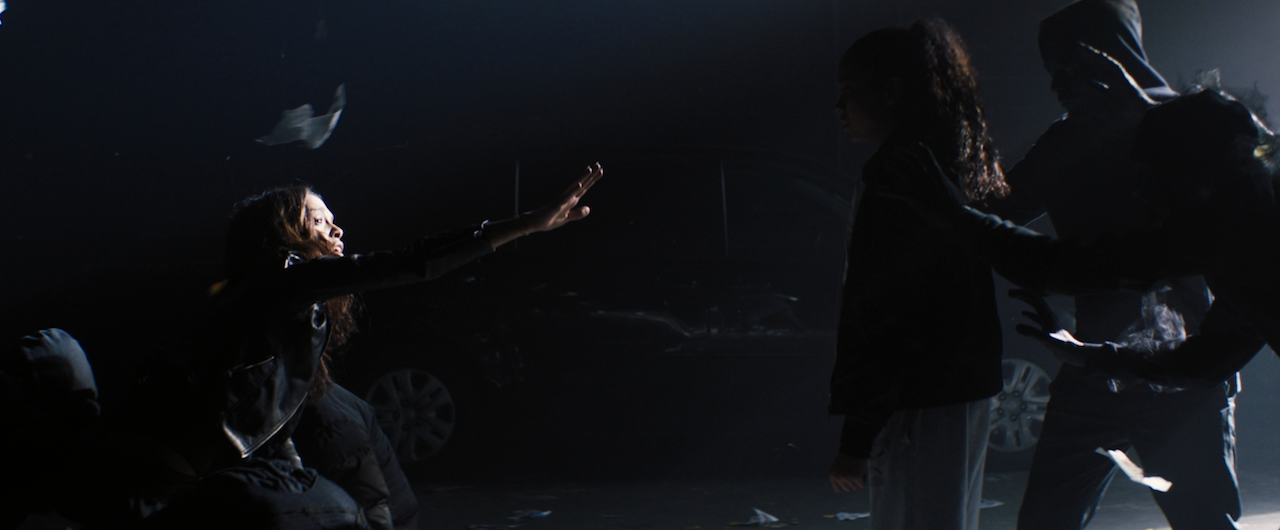
When working with a small budget, it’s important to trust your creative partners, and for them to trust you as well. When I make creative suggestions, it’s never because I am trying to impose my will or vision on the director - it is because I understand the limitations from a different perspective, and I want to make the final spot as good as possible. I suggested to Patrick to shoot in a warehouse space that we could dress with crew members’ cars to appear as if it was shot in a back alley at night. It fit the “nightmare world” aesthetic better, creating a surreal space for our chase scene to take place.

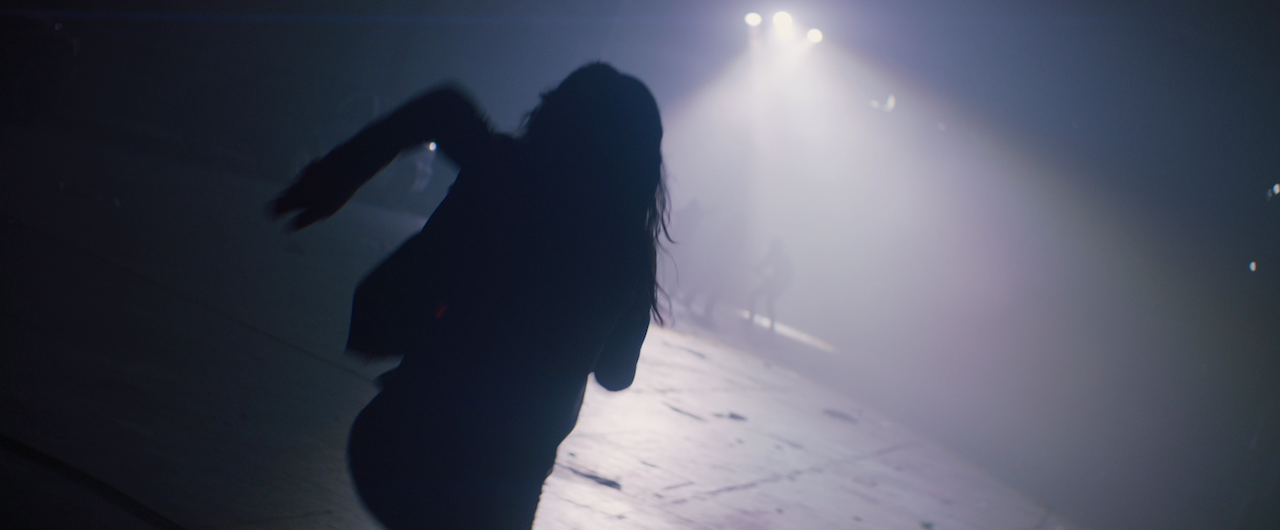
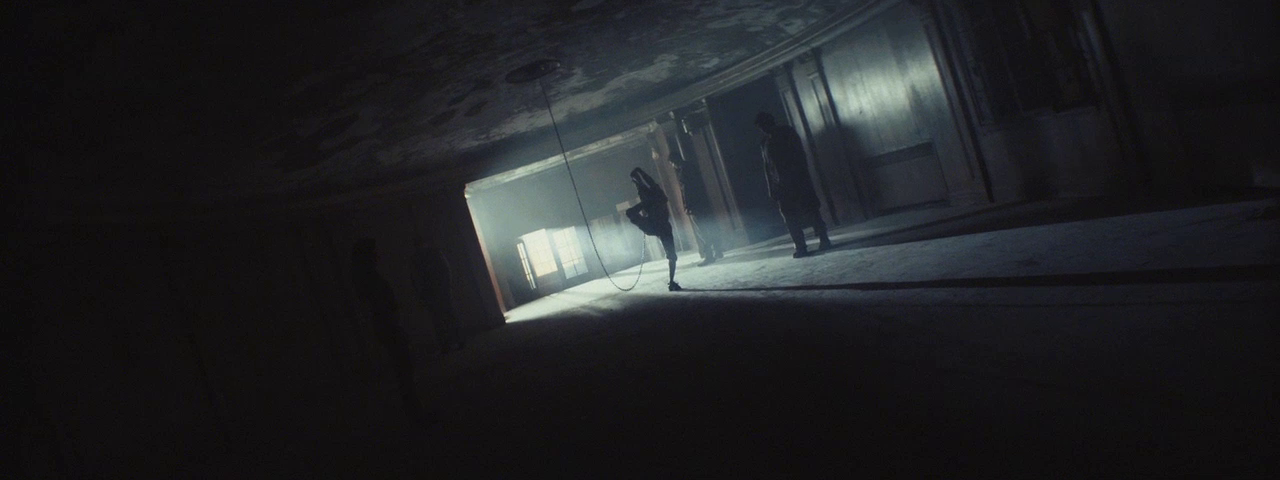
Patrick’s treatment called for vertical beams of light illuminating the girl and her mother, but after scouting the location we learned that they had a scissor lift available, and I suggested using moving lights to add a dynamic element to the video given the static nature of everything else. We lit everything with 3 JoLeko 800s with 10-degree barrels, and a single Skypanel to give us a dash of color.

What could have been a massive and expensive endeavor outside on a street became a much more efficient, and in my opinion, visually impressive piece that fit the story better. We were able to control the space, use atmosphere without needing a huge SFX crew, and light with a small G&E package, without being constrained by sunset and sunrise or needing to shoot overnight.

Use atmosphere

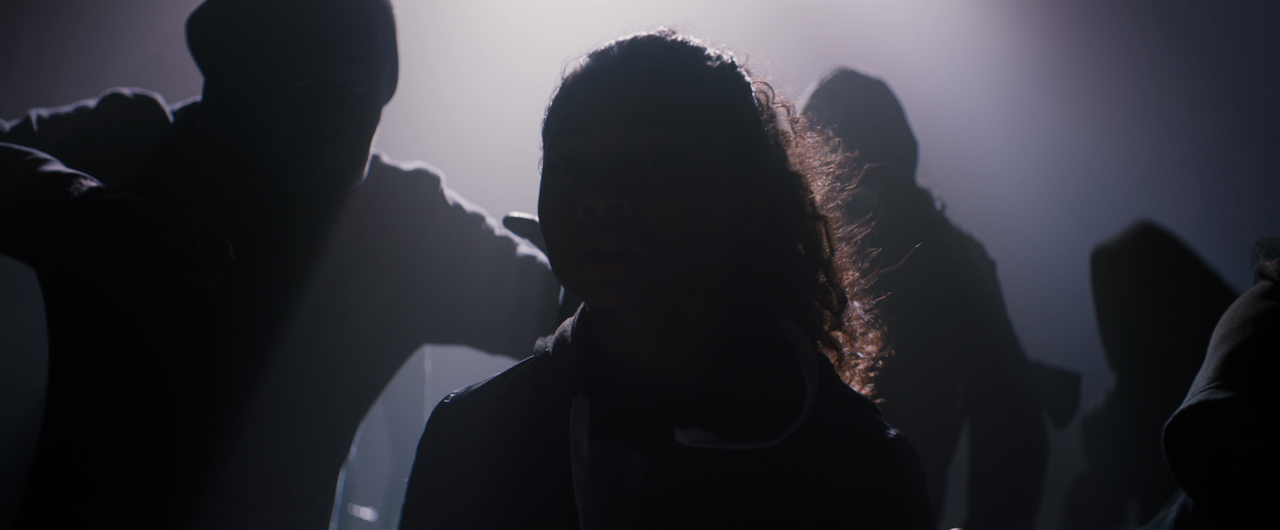
The single, most effective, and still my favorite way to light on a budget is to use atmosphere. Nothing gets you more bang for your buck, and I would rather cut every light on the truck before I get rid of the hazer. Haze adds volume and depth to the image. It adds fill via ambience instead of making shadows look unnatural. 

There are also other types of atmosphere that I love to use. Finely-chopped down feathers create a look of floating pollen which reacts beautifully to character’s movements or to fans and leaf-blowers. Wind creates an environmental element that can either mimic a character’s state of mind, or exaggerate their struggle. A bag of bio-snow, which depending on the size you purchase, can either look like snowfall or act like dust. A $100 bag will last you for days.

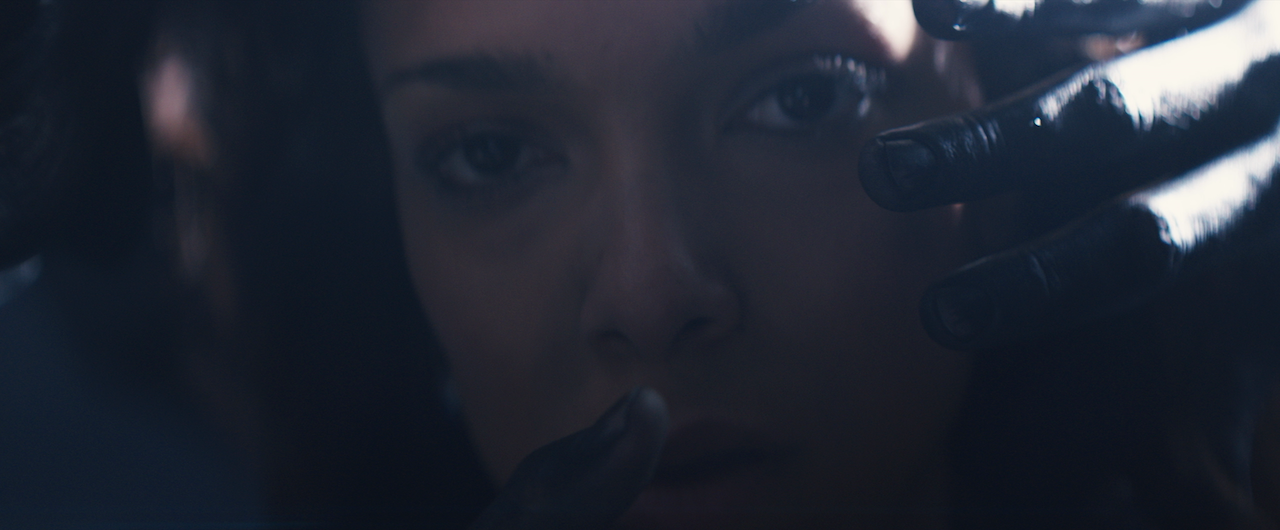
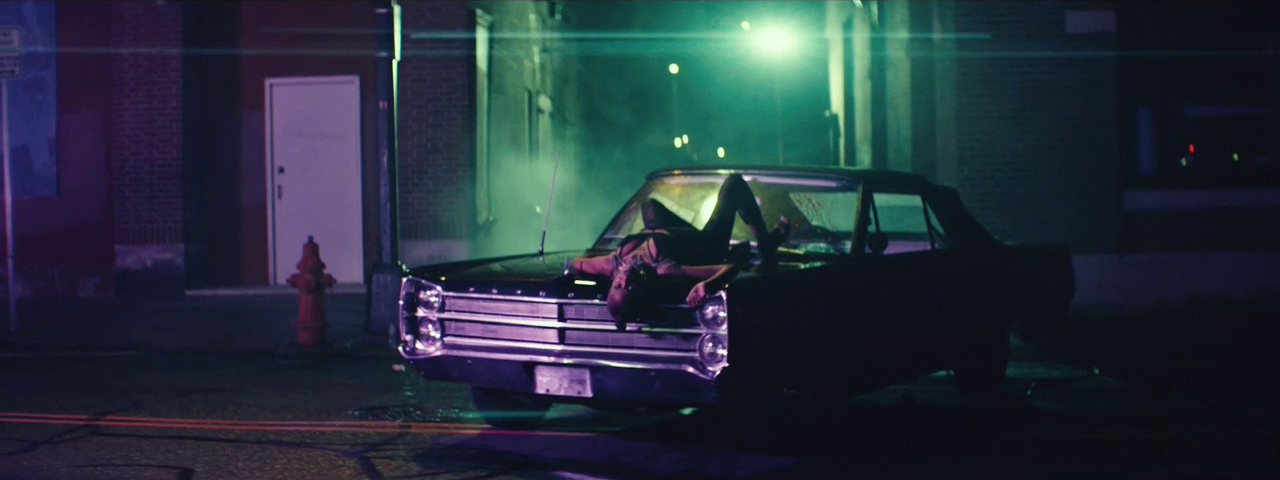
For the “Caught Up” video, the creative requirements lined up nicely with using atmosphere. We usually had a hazer running somewhere, even in exterior shots. The smoke in the alleyway is coming from a hazer hidden behind the car. What’s the motivation? Who cares, it looks great, and I bet you didn’t even notice before I pointed it out.

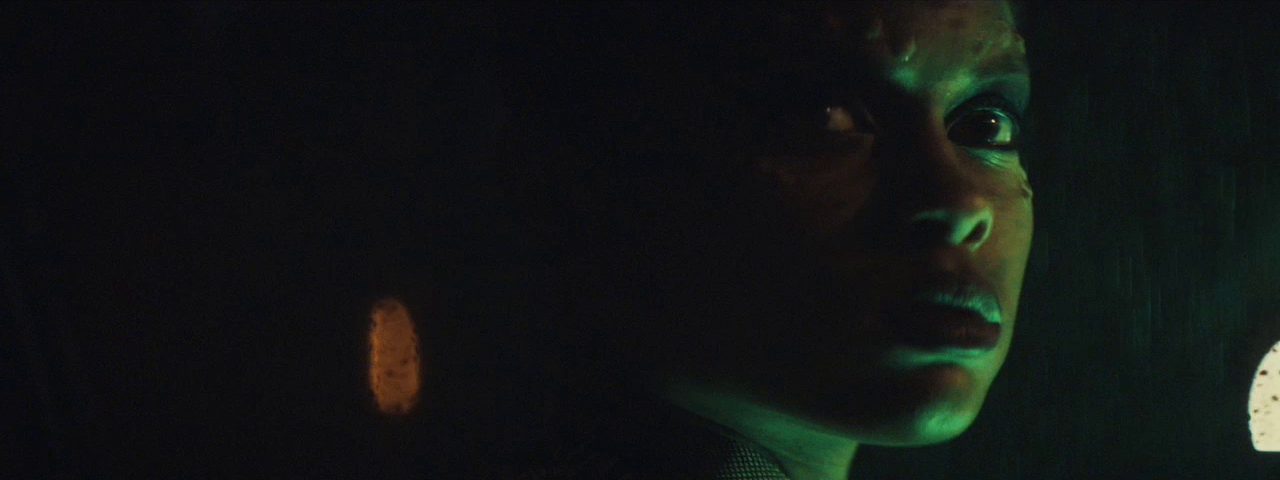
Director Floyd Russ even brought canned haze along, and we used it in the car for the scenes with our alien villain driving around, looking for her next victim. I still can’t believe it was mostly lit with a cheap Chauvet DJ light and a $20 RGB LED strip from Amazon. We did have a Skypanel and a Joker 400 for a couple of shots, but they didn’t play too often.

Every film can benefit from these rules: find great locations, use available light smartly, be flexible in your creative requirements, and utilize atmosphere. Whether you have $100 or $100 million, you can always fall back on these foundations to create beautiful images. Just remember that the number one purpose of a great image is to tell a great story.

As always, the conversation continues on my Instagram (@dkruta). Please feel free to send me any questions or comments. I love chatting about cinematography and I’m always interested to hear your thoughts.